Sunday, November 25, 2018

Curried Coconut Rice with Grilled Pineapple

Looking pretty fly in the kitchen if I do say so myself!


Well I wanted to do a recipe that was fairly easy and would be a good dinner item as that was what I needed to make today. I love coconut rice, so I figured I would give this one a go, Curried Coconut Rice with Grilled Pineapple.

I did not use fresh pineapple


I followed the recipe vicariously...a.k.a. I was not fully prepared to add things when I was supposed to and so I looked like a bit of a crazed maniac at first. You heat the oil (coconut or olive oil. I used olive oil as that was what I had), and add your diced onions. I had green onions already chopped very finely, so I chose those instead and they really don't require cooking, so they were a bit over sizzled by the time I added the rice, ginger, followed by groping around to find the curry. When you have a house husband he tends to think he should reorganize the kitchen-this means I can't find things! I pulled crap out, and had stuff everywhere, standing on chairs to look at the back of the cupboard and pantry, only to find it where we have honey and tea...So then you add your coconut milk and water mixture, along with salt. I totally forgot the salt until the rice was cooked.

Rice getting all cooked up

I decided to make a coconut curry as well to go with the rice, but I totally cheated and used sauce I grabbed at Costco.

cooking some chicken in coconut curry to add as a side to the rice

chicken bits getting fried

Rice cooked with pineapple and minced cilantro added at the end as per recipe

Coconut chicken curry a la glass jar sauce from Costco


Everything was fairly easy to whip together. I did put the not fresh, but canned pineapple on broil in the oven to try to get a "grilled" look, but my parchment was just burning, so I took it out before it actually got brown tips. I do know that parchment will burn, in case anyone is thinking I am a total moron...well I guess that does not take away the moron, but I am a knowing moron!

You add the pineapple and freshly minced cilantro at the end, when you "fluff" your rice, a.k.a. stir it at the end. Overall it was tasty but not very coconut flavoured. The pineapple did not over power and you could likely add more than the one cup asked for in the recipe. I actually think you could add more curry as it was very faint, so anyone who does find curry overpowering this recipe is not that way at all. My family all enjoyed it, and even said more pineapple would be good, but we eat a lot of fruit here, so I think its balanced nicely with one cup.

Here is the video link to the video making the rice
Yum and Yummer

Friday, November 23, 2018

Cauli “flour” Crusted Quiche

 I picked up my supplies from Superstore  I had basically everything I needed just had to pick up cheese and veggies. I thought that this would be a very difficult recipe to do because of making the cauliflower crust. But in actuality it was very easy to put together this very yummy quiche.


I did not cut my veggies as I went as she suggests in the recipe procedure I find it easier if I have everything chopped up  and measured before hand so that I just have to put it together. I diced the veggies very small so that they would be easy to put on the fork when I was eating. 


 Making the cauliflower  batter was a lot easier than I had initially thought. I did not know how my food processor was going to handle all that raw cauliflower but it whipped it up in no time at all it took maybe 30 seconds for the food processor to make the little rice sized pieces.  I would suggest that you grease your cookie sheet before putting the cauliflower bits in the oven for the first time as mine got really stuck and made a big mess when I was trying to transfer the bits from the cookie sheet into my big bowl.  Thank goodness my dog Lenny really likes cauliflower and he cleaned up the mess for me ha ha Ha. 


Raw cauliflower pie crust


Baked pie crust


Cooking in the oven


 She says to cook the quiche for 40 minutes to 45 minutes and I found that 40 minutes was a bit too long they could’ve taking out a five minutes earlier and it would have been better it was a little overdone on top. But this didn’t affect the taste at all. 


Picture perfect 


 The ratio of veggies to egg was very good. I found this to be a very flavourful quiche but nothing was overpowering. This takes a long time to make but is really worth the effort when you’re done though.

Link to video 


Sunday, November 18, 2018

Apricot, Sriracha & Ginger Glazed Meatballs

I had to go to the store to pick up a couple items for the recipe. I had the option of buying a 1pound package of ground chicken which was half a pound less than the recipe called for but Mike and I figured that it would work.

I measured the green onions, hoison sauce, egg, garlic, ginger root, oil salt and pepper into a big bowl and added the ground chicken and mixed throughly it was so runny I couldn’t shape them into balls so I quickly mashed more plain crackers and added it to the slop which helped a lot to bind the balls.

The recipe says that the balls will be done in 15-18 minutes but mine were done in 11 minutes so watch them carefully. I have a  convection oven so it does usually cook faster.


The sauce was so easy to make I accidentally used regular jam where she calls for sugar free jam I just used regular jam and it tasted amazing. I would use half of the sriracha sauce as it was a little too hot for Mike and I we are red faced and sweaty by the time we were done eating. Haha 

My ugly looking meatballs


Once they took a bath in the apricot ginger sauce their appearance improved drastically.


We ate the balls and sauce over rice which was really delicious as I had lots of sauce. The meatballs had great flavour and texture. We actually ate the rest of the balls before doing the dishes they were so good. No harm done by not having enough meat and using the wrong jam. 


After being garnished they look just like the picture in the book, well almost lol!

This was another great recipe from the Yum and Yummer book 
Link to video 


Friday, November 16, 2018

Greek Yogurt Lemon - Raspberry Scones with Lemon Glaze

I wanted to bake something to serve with coffee, as I tend to have some visitors on the weekends, so when flipping through the recipe book, these caught my attention and I figured they were less time consuming than making cinnamon buns...and you know, its good to try to broaden your horizons!

This is a "healthier" version of scones as it is made with greek yogurt instead of whipping cream, and also blends whole wheat flour with all-purpose flour...and well there is also the raspberries...so its got some decent nutritional value right?!?!

I forgot to take pictures until I was halfway through and believe it or not, I have never made scones before, so I wasn't sure if I had the right consistency or not, so I just went with my instincts and they seemed to turn out great! This is when I realized I had forgotten to take pictures...after I had mixed all the dough together and placed the dough on the baking pan.


I didn't use frozen butter as the recipe suggests - just cold butter from the fridge...and I used white sugar instead of brown as I find brown sugar can sometimes make things too soft (typically I would do half and half just to be safe).  I also actually used real lemon juice and zest since I went to grab groceries and they are pretty cheap right now, so why not?! Leah would tell me I was being "fancy" LOL

I interpreted "turn dough out on lightly floured surface" to mean kneading it a bit...that resulted in the raspberries starting to warm up and the dough getting a bit more wet than I would have expected and the raspberries turned everything pink, so I wouldn't recommend doing that. I suppose I should have watched the video to understand what was intended...see attached video link.  I also brushed melted butter on top as I find it helps things brown.

Lemon Raspberry Scones


I made the glaze while the scones were baking - it was super easy, but firmed up too much while I waited, so I had to warm it up in the microwave a bit to get it back to "drizzle" consistency.

 This is what the scones looked like coming out of the oven - I checked them at 15 minutes (as I always check a few minutes before the recipe calls for) and put them back in for 3 minutes to the recipe's suggested 18 minutes...but because they were still a bit wet in the centre, I cooked them for 2 more minutes and they turned out perfect.

 I had to cut them apart again once they cooled a bit, and then drizzled with the glaze, but I think they were too warm still so my drizzle is more of a total glaze...still tastes delicious, but doesn't look as pretty!
This is a side view of the texture of the scones...a nice soft crumb but fully cooked through.
 And a better picture showing my glaze coverage

These were delicious!  The lemon really zings and brings out the raspberry flavour, and they are moist and dense just like a scone should be - but not dry (bleh - nobody should have to use butter on a scone to provide moisture!). 

Tuesday, November 13, 2018

OMG Mindy and Leah were a Tad Ambitious!


Me looking FINE...actually forgot my hair was all combed forward bahahahaha

So before the whole idea to actually blog came about for the new cookbook, I (Leah) picked out some recipes I thought I would make, possibly to just portion out into lunches I could freeze for future use...I picked three:

  • Chicken Potpie Chowder
  • Chicken & Wild Mushroom Skillet
  • Beef Bowlrito
They are fairly basic recipes. but it took us the entire afternoon to make them. We made the Chicken Potpie Chowder first, ate some for lunch then froze the rest in individual containers. Next was the Beef Bowlrito. I realized that this would be trickery to pre-make for lunches as I would need to prepackage a bunch of toppings, so likely better as a dinner one night, then lunch the next day sort of meal....or buy some fancy multi container containers. The last one we created was the Chicken & Wild Mushroom Skillet for dinner which we completed a little after 6:00 pm.

What we learned is not to listen to Leah as she is way too ambitious on what we should do on an afternoon. We did double every recipe so that we could each have a portion for our houses. I will try to cover these in the order we created with any of our modifications.
Final Chicken Potpie Chowder

1. Chicken Potpie Chowder: 
(I don't want to post the recipe in case I am breaking copyright, but I will link the website to the recipe)
Most of my modifications from recipe is that I really am picky about big chunky onions, and celery. So I used my chopper and pretty much pureed some, and diced some....but super small. I totally recommend a small chopper if you are finicky like me. It is a huge time saver!


We cooked the chicken on the stove, frying it, seasoning it with thyme, sage and salt. The recipe just says cooked chicken breast. I was a terrible describer to Mindy who picked up some ingredients I had missed, like creamed corn. She bought the larger cans (598mL) and the recipe called for (398mL) so we had more creamed corn then was needed, and I think it sweetened it a lot. 

I messed up thinking the recipe wanted peas and corn, but it was peas and carrots. I shopped at Superstore and they don't have that blend, so I bought a blend with carrots (very few and full baby carrots), green beans, peas, lima beans and corn. This changed the colour of the chowder, so it does not have much pop. This did not make it taste bad, so I do recommend try your own favourites. 

The recipe also asked for half-and-half cream, but I used half heavy cream and half 2% milk...not worried about calories here! 

We totally forgot the parsley, so its still sitting in my fridge. Overall the recipe is tasty, and easy to make. I would probably thicken it up more the next time. We ate this for lunch and everyone liked it, and I froze the leftovers for lunches. 

Beef Bowlrito


I honestly was wanting to not make this as I realized this would be a tricky one to prepackage and freeze for lunches (my main objective).


Cilantro-Lime Rice: We used basmati rice instead of the brown rice the recipe asked for...I am not a lover of brown rice. Mindy also suggest you could just sub lettuce instead of rice too for a salad. I also did not use fresh limes, but bottled lime, skipping the lime zest...I am not "zesty", but you can always try. I enjoyed the rice, I like cilantro, which is in this, as it gives a nice fresh flavour. 

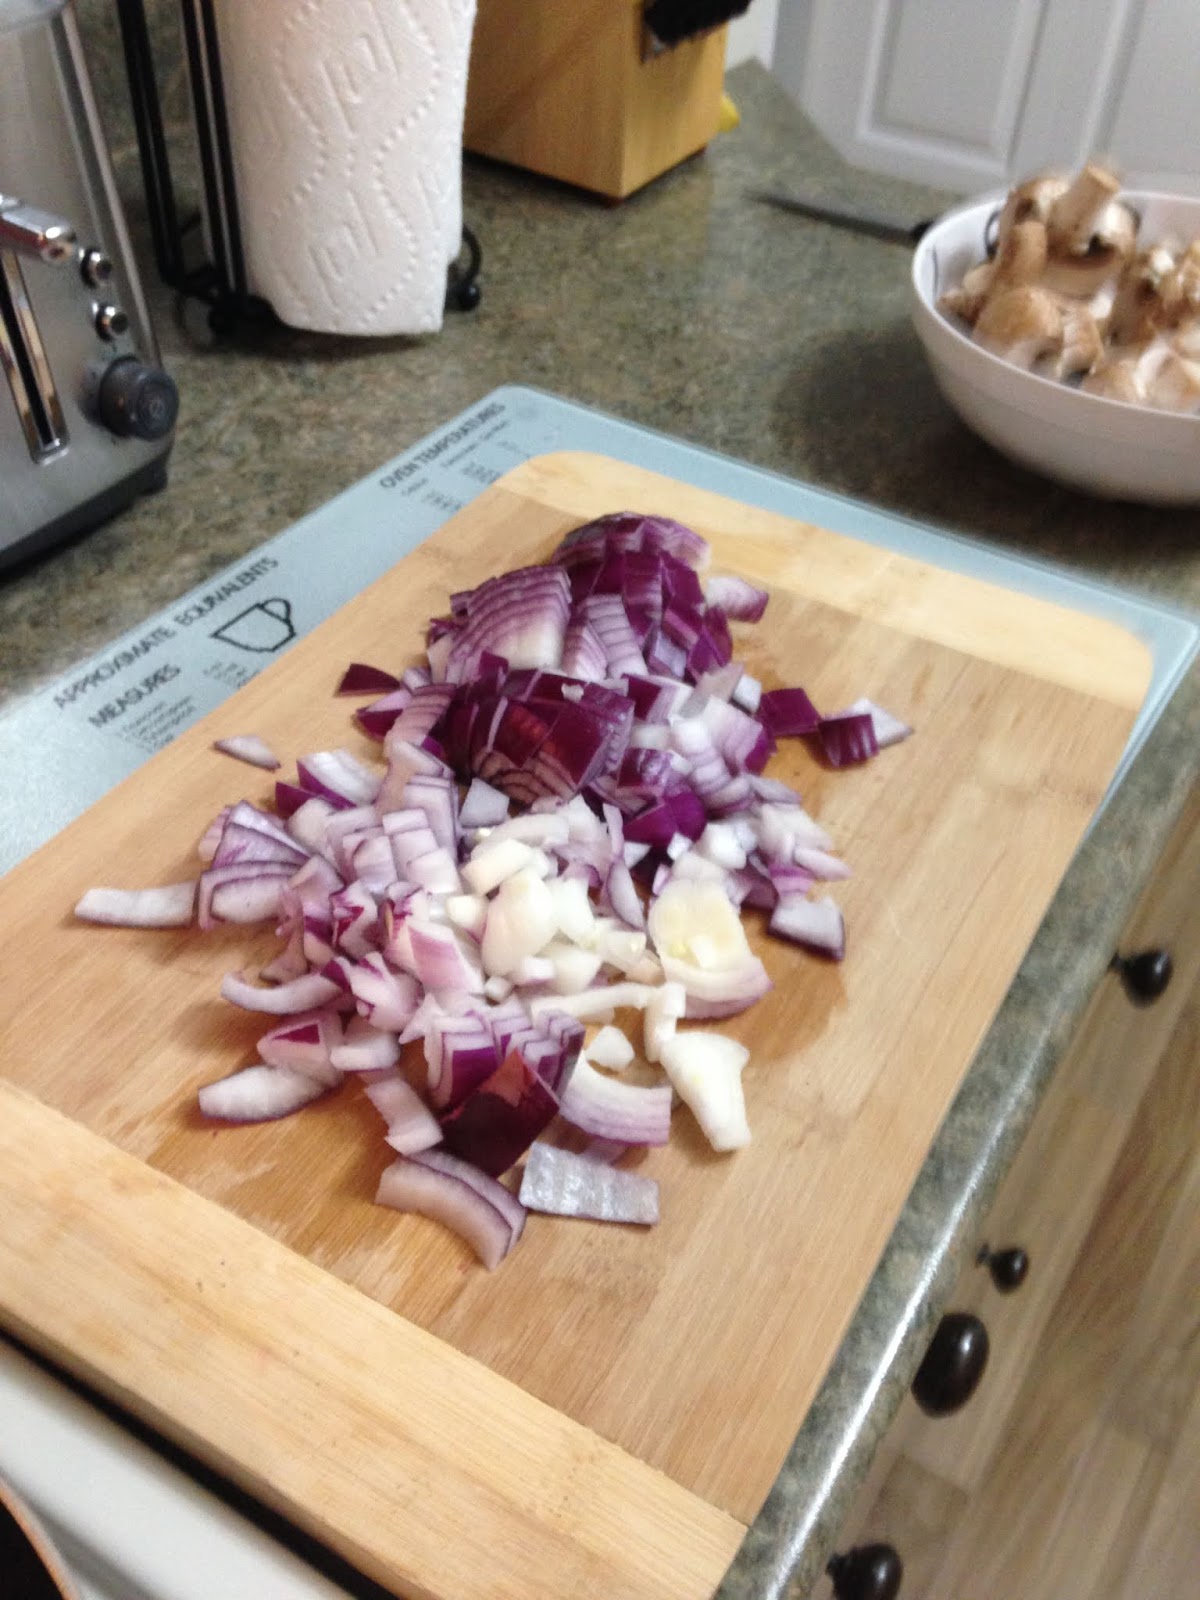
Spiced Beef: Again I pureed the onions, adding the fresh garlic with it to save time. I also am not super "measurey" so I kind of "eyed" what I thought was a cup...I had frozen ground beef that was not fully thawed so it took longer to cook and had more liquid. 

We topped it all with corn, black beans, salsa, sour cream, guacamole, and shredded cheese. Mindy tried to get fancy so used a sprig of cilantro and diced tomatoes for a nicer presentation. This would also be great wrapped in a tortilla. 

This was really easy to make, and was fresh and tasty. I totally think it will taste fine cold, so I am taking my leftovers for lunch. I kind of stir mine up before eating. 

Sorry just about forgot to take a picture!


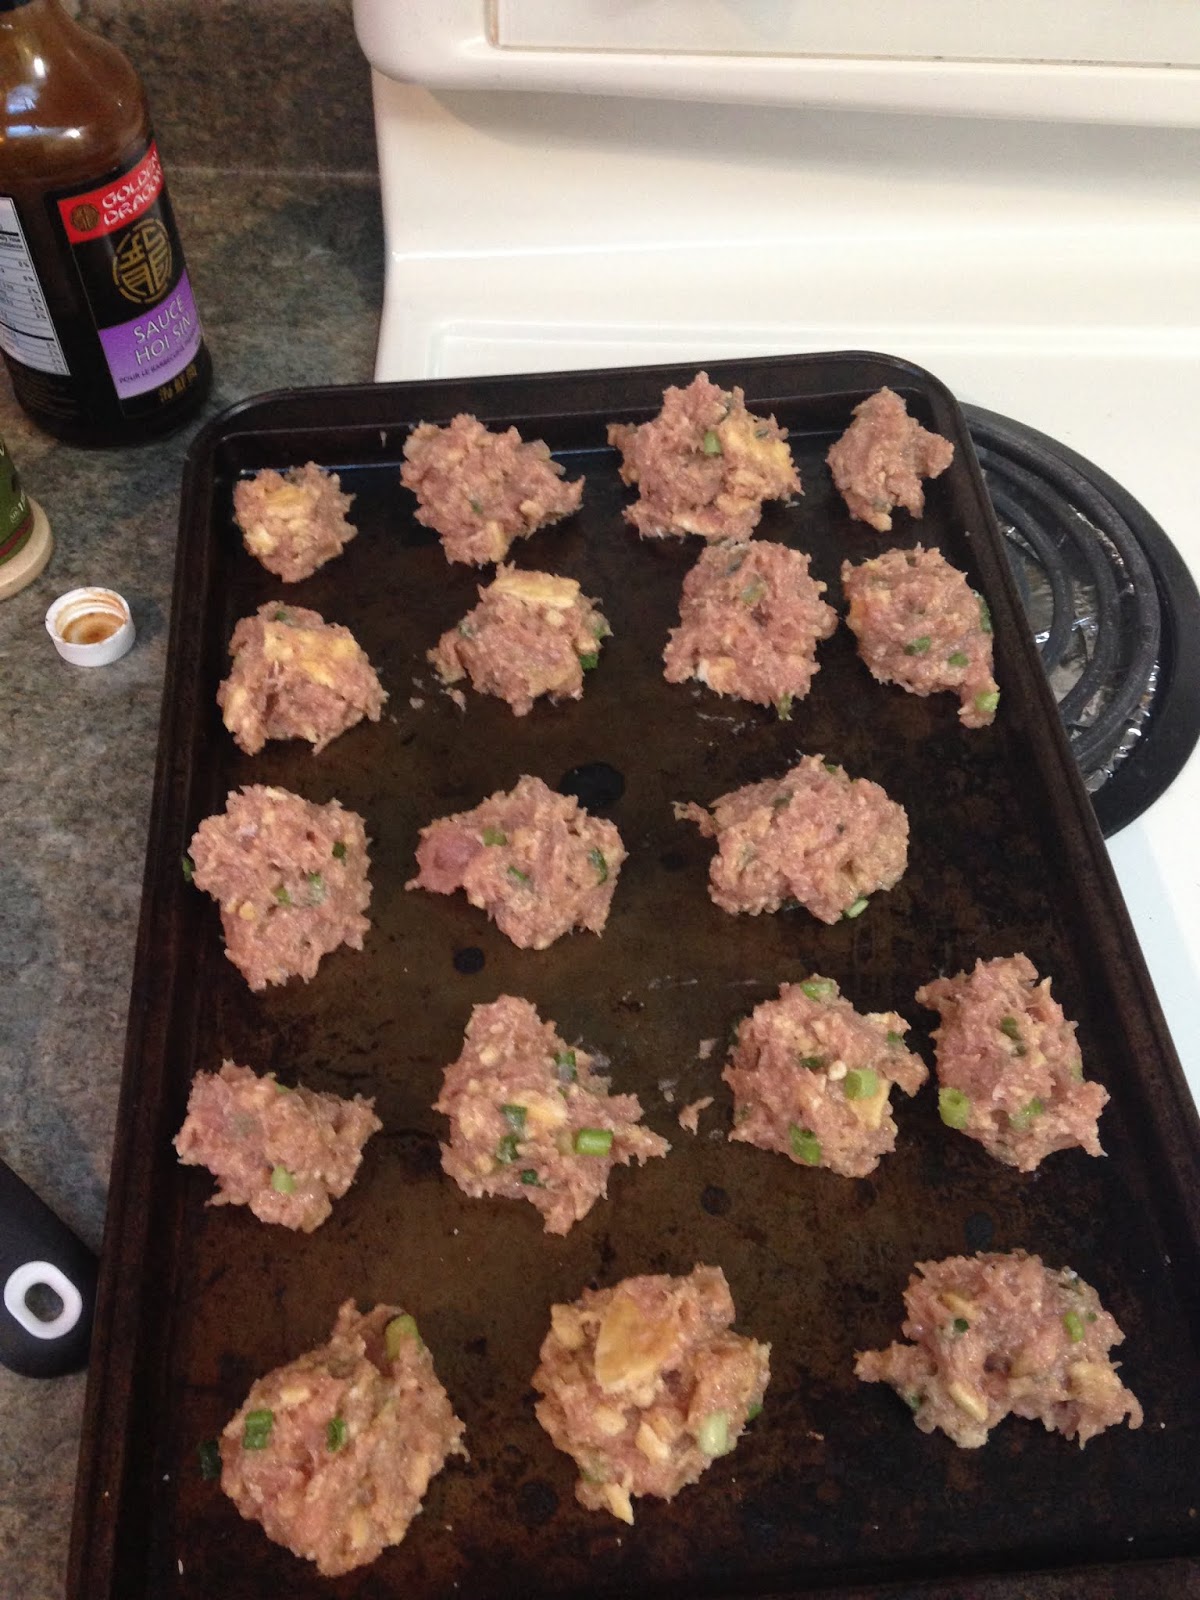
I was so not feeling like cooking anymore at this point and got a bit sloppy. For some reason we had a lot of sauce, like a lot! Wendy made this same recipe and said she did not have as much sauce as she would have liked, so I must have did something to it, and I think maybe I added more chicken broth than was needed. 


I forgot to pound the chicken breasts to even thickness, and I remembered this as I went to bed. I pureed the onions, and used white onions (or whatever you call those cheap ones in the mesh bags). I do not recommend this as it made the dish really oniony, like it took over the flavour. Wendy used red onions and chopped hers, and she said hers was not so oniony. 


I am not a foody. So I just used dijon mustard w/white wine instead of the grainy dijon mustard. Apparently Mindy says it will give a different flavour and texture....she's fancy and knows these things.

I used cremini mushrooms instead of the "wild mixed mushrooms", and anyone who knows me, knows I don't like mushrooms...so I did not really care. I don't mind flavouring of mushrooms, but I don't eat them. 

We made mashed potatoes and green beans to go with the chicken, which was great. I would definitely make again but I would beat the chicken and watch I wasn't adding too much liquids, and NOT puree the onions (and add less). 

Overall, most dishes were good. I would modify some more, mainly thickening the chowder and the sauce with the chicken & wild mushroom skillet. We doubled all the recipes so the chicken & wild mushroom skillet sauce was runnier then I like, I like a gravy. 

When Landon came over he said my house was hurting his eyes because of all the onions, LOL. My daughter also said the same thing, so I told them they would make terrible Slavics! I also got the following text from Mindy after they left: 

Mindy texted me the following:
I don’t know - I will go on and look later! Landon and I both smell like big stinky meatballs from being at your house 😂 so we are going to take showers and put PJs on before we settle in for the evening

Chicken and wild mushroom skillet


I’m not nearly as daring as Leah and Mindy I only made 1 recipe from the Yum and Yummer book.


 I went to Save on foods to grab my ingredients but unfortunately they didn’t have whipping cream so I had to use half-and-half which worked just fine. I also didn’t have chicken broth but used beef instead and it tasted just fine.


I chopped a purple onion as she did not say what kind to use and 8 ounces of cremini mushrooms.  Then I cook my chicken I made a mistake and didn’t read ahead on the recipe so I fully cooked my chicken before letting it cook in the broth.


Wendy cooking away
Tasty dinner for two

 Mike and I really enjoyed this meal. However, next time  I would definitely make wild rice to go with it. We had a good onion flavour and very mushroomy sauce unfortunately we felt that it could have done with a great deal more sauce.  This recipe was super easy to make and will definitely be one I make again.

Monday, November 12, 2018

We're baaaack!


Well Mindy decided we needed to become chefs now because she went to Christmas in November in Jasper and is fancy like that....so Wendy and I are back for the ride. Mindy was flipping through her cookbook last night when she suggested we restart the blog with a new cookbook trial. We all have loved the simplicity of the Looneyspoons cookbook by Janet and Greta Podleski. So while Mindy was in Christmas in November, she went to a session with Greta Podleski, who has released a new cookbook, Yum and Yummer, which you can get at Costco (like right now!) or on Amazon. The cookbook was sold out in Jasper, so I ran over to Costco and grabbed one....and one for Mindy and one for Wendy-I am just that wonderful and kind!

This will be an exciting adventure considering we all have varying levels of cooking experience and tools, and styles really - so we will all bring a little something different to this blog.  We will let you know our thoughts on the recipes, any variations due to our preferences or lack of finding or knowing any better, our lessons learned, and how tricky or easy they are to make!

Mediterranean Quinoa Salad

Salad is on the top right side of plate. I did not think about pictures until I was eating... Most of you may be aware we have gone on...